
Batch Your Social Media Graphics: A Week of Posts in One Hour
You sit down Monday morning, open Instagram, and realize you have nothing to post. So you spend 25 minutes picking a photo, writing a caption, choosing a font, second-guessing the font, and finally posting something that feels rushed. Then you do it again Tuesday. And Wednesday. By Thursday, you skip it entirely.
This is how most small business owners handle social media. One post at a time, squeezed between actual work, never quite feeling good about what goes up. It’s exhausting, and it shows in the results.
There’s a better way. It’s called batching, and it works because of a simple truth: your brain is terrible at switching between tasks but pretty good at doing the same type of task repeatedly. When you sit down to create all your graphics at once, the second one takes half as long as the first. The fifth takes a quarter. One focused hour can genuinely produce a full week of posts.
Why One-at-a-Time Posting Is Killing Your Content
Every time you create a single post from scratch, you’re paying a startup tax. You have to get into the creative headspace, pick your topic, find a photo, choose your colors and fonts, write the caption, and export. That mental setup takes 10-15 minutes before you even start making anything.
When you batch, you pay that startup cost once. You get into the zone, and you stay there. The result isn’t just faster production. It’s better content, because you can see your whole week laid out and make sure you’re covering different topics, mixing up your formats, and keeping things visually varied.
There’s another benefit that people don’t talk about enough: batching kills the daily pressure. When you know your posts are done for the week, you stop dreading the “what do I post today?” question. That mental weight disappears, and you can actually focus on running your business.
The Pre-Work: 10 Minutes That Save You 30
Before you start designing anything, spend 10 minutes on prep. This is the step most people skip, and it’s exactly why their batching sessions spiral into two hours instead of one.
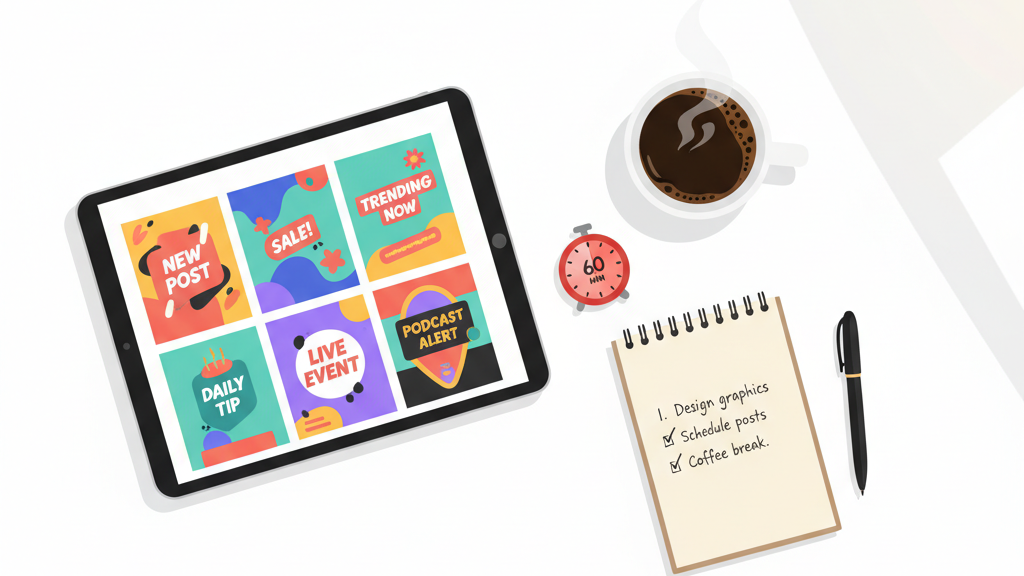
Pick your topics first. Decide on 5-7 post topics for the week. Keep a running list in your phone’s notes app throughout the week so you’re never starting from zero. A solid week for most small businesses looks something like this:
- 1 educational tip or how-to
- 1 behind-the-scenes or personal post
- 1 testimonial or customer spotlight
- 1 promotional post (product, service, or offer)
- 1 engagement post (question, poll, or opinion)
- 1-2 quote or inspirational posts
Write your captions in bulk. Open a blank document and write all your captions back to back. Don’t worry about the graphics yet. Captions are writing work; graphics are design work. Mixing them forces your brain to switch modes, which slows you down. Write them all first, then move on.
Gather your images. If you need background photos, pull them all now. Check your camera roll, grab a few from a free stock site, or take five quick photos in a row. Having your images ready before you open your design app is the difference between a focused session and a 20-minute detour scrolling through photo libraries.
The One-Hour Batching Workflow
Here’s the actual session, broken into blocks. Set a timer if it helps you stay focused.
Minutes 0-5: Set up your workspace. Open your design app, pull up your captions document, and have your images accessible. If you’re using Word Swag, load it up and have your first background photo ready. Close every other app. Put your phone on Do Not Disturb. This isn’t optional. One text message can derail a 10-minute creative streak.
Minutes 5-20: Create your first two graphics. The first graphic always takes longest because you’re settling into your style decisions. What colors feel right this week? What font weight matches the mood? Once you make those choices on post number one, carry them into post number two. You’re not just making individual posts. You’re establishing the visual rhythm for your week.
Minutes 20-45: Build the remaining graphics. This is where batching pays off. You’ve already found your groove. Your template choices are made. Your design muscles are warmed up. Knock out three to five more graphics, reusing the same style approach and swapping in new text and photos. Each one should take 4-6 minutes.
Minutes 45-55: Review and adjust. Scroll through all your graphics in order. Look for visual monotony (too many similar color schemes in a row) or tonal repetition (three serious posts followed by nothing fun). Rearrange if needed. Make small tweaks. This is your quality control pass.
Minutes 55-60: Export and schedule. Export everything and either load your posts into a scheduler or save them to a dedicated album on your phone with the posting date noted. More on scheduling in a minute.
Template Reuse: The Real Speed Hack
The single fastest way to cut your batching time in half is template reuse. And no, this doesn’t mean every post looks identical.
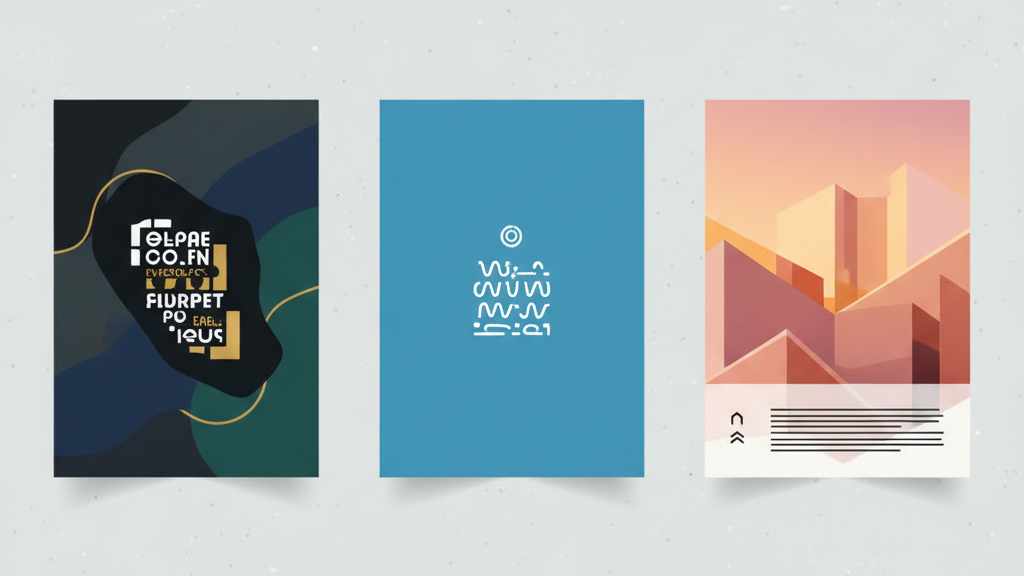
A template is just a starting point: a layout structure, a font pairing, a color scheme, and a text placement style. You change the photo, swap the words, maybe shift one color, and you have a post that looks cohesive with your brand but completely distinct from yesterday’s.
Here’s a practical example. Say you run a fitness studio. You might have three templates you rotate through:
- Bold quote on dark background. Big, heavy font, centered text, moody photo. You use this for motivational content.
- Clean tip card. Solid color background, lighter font, left-aligned text with a headline and body. You use this for workout tips and nutrition advice.
- Photo-forward with caption overlay. Bright gym photo with a short text overlay at the bottom. You use this for class promos and member spotlights.
Three templates, rotated across the week, give you variety without ever starting from scratch. Over time, your audience starts recognizing your visual style, which builds the kind of brand consistency that makes people stop scrolling when they see your content.
Word Swag makes this especially straightforward because you can save your favorite text styles and layouts, then apply them to new photos with a couple of taps. Instead of rebuilding every design decision from zero, you’re just plugging in new content.
Caption Prep That Doesn’t Suck
Writing seven captions in a row sounds miserable, but it’s actually faster and more fun than writing one caption while staring at a blank screen on a random Tuesday.
The trick is to batch your captions by type, not by day. Write all your educational captions together, then your promotional ones, then your engagement posts. Same type of writing, same voice, same structure. Your brain builds momentum.
A few formats that work when you’re stuck:
The micro-lesson. One specific tip in 3-4 sentences. “Most people [common mistake]. Try [specific fix] instead. It works because [brief reason].” Done.
The question hook. Start with a question your audience is already thinking about. Answer it briefly. Ask them to share their own take in the comments.
The behind-the-scenes peek. One honest detail about your day or your process. People are drawn to realness, not polish. “Here’s what my desk looks like when I’m prepping for a launch” goes further than most people expect.
The soft sell. Talk about a result or transformation your product or service creates. Don’t lead with “Buy this!” Lead with the outcome.
Keep your captions in a running document organized by day. When it’s time to post (or schedule), you just copy and paste.
Scheduling: Don’t Let Your Batch Session Go to Waste
You just created a week of content in an hour. Don’t blow it by forgetting to post on Thursday.
If you’re managing everything from your phone, the simplest approach is to create a “Ready to Post” album in your photos and save each graphic there in posting order. Set a daily phone reminder for your posting time. When it pings, open the album, grab the next graphic, paste in your pre-written caption, and post. Total time per day: under two minutes.
If you want to automate further, scheduling tools like Later, Buffer, or Meta’s built-in scheduler let you load everything in advance and forget about it. Spend an extra five minutes at the end of your batching session uploading your posts and setting the dates. Now your entire week runs on autopilot.
One note on scheduling: leave a little room for spontaneous posts. If something fun happens at your business on a Wednesday, post about it. Your scheduled content handles the baseline, and the occasional real-time post keeps things feeling alive.
Making Batching a Habit
The first time you batch will feel a little clunky. You’ll probably go over an hour. That’s fine. By your third session, you’ll have your templates dialed in, your caption-writing rhythm down, and your photo selection process streamlined. Most people get to the point where a week of content takes 40-45 minutes.
Pick a day and time that works for your schedule and treat it like a standing meeting. A lot of people like Sunday evenings or Monday mornings, but there’s no wrong answer. The only wrong answer is “whenever I feel like it,” because you never will.
If you’ve been creating posts one at a time, switching to a batching workflow will give you back hours every week. That’s time you can spend on your actual business, with your family, or just not staring at your phone trying to come up with something clever.
Try it this week. You can block out an hour. Create your graphics in one sitting using Word Swag or whatever tool you prefer, write your captions in bulk, and schedule them out, and see how it feels to wake up every day with your content already handled!